
I used to struggle in Photoshop guessing how much to feather a selection. A lot of it was trial and error, pick some number of pixels to feather, try it, undo, pick another number, rinse, repeat. But this is now a thing of the past, I recently realized I could use the Refine Edge tools to have a visual aid for my feathering of selections.
I often want to brighten an area of a photo or create a vignette as one of the final steps of editing a photograph. Here is an example where I want to brighten the statue of David using a mask and a curves layer.
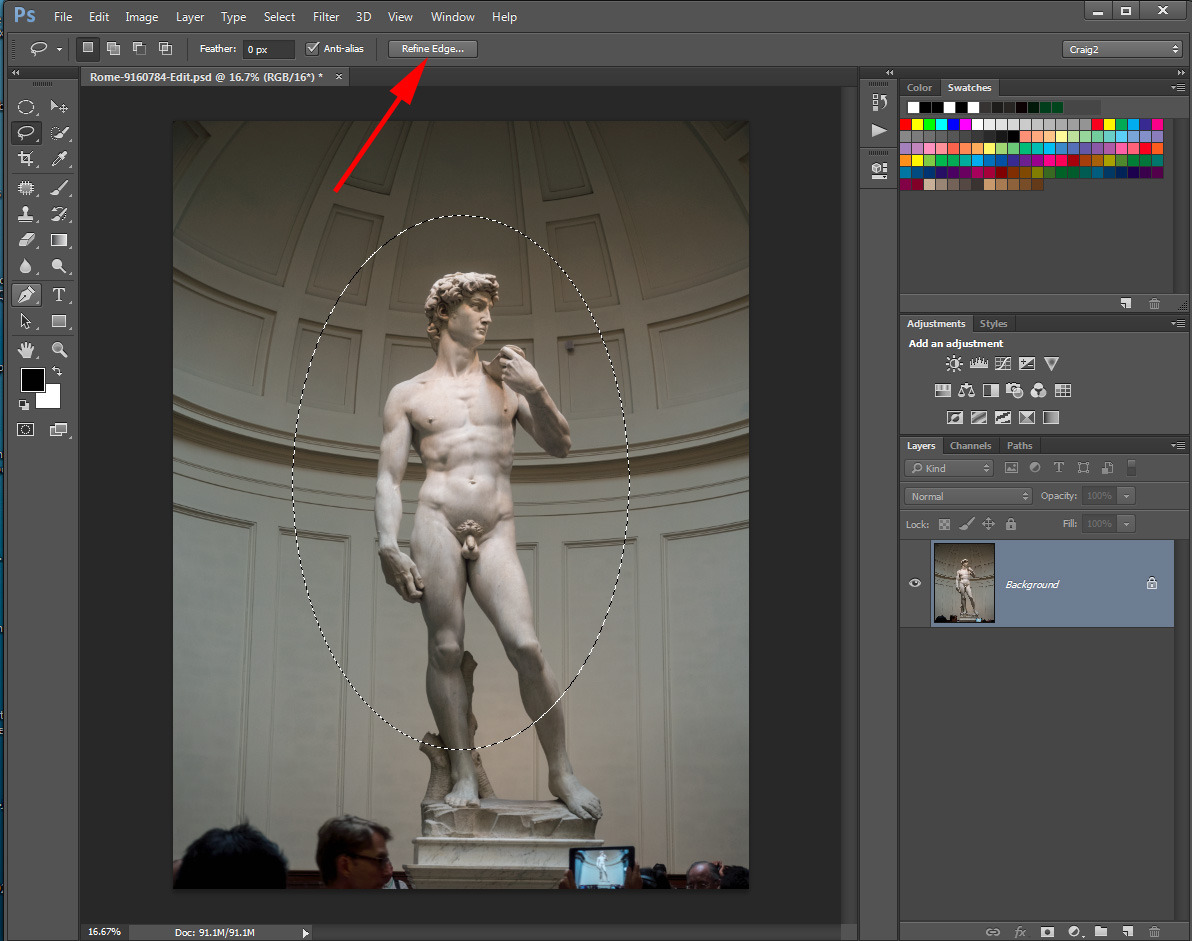
Make Selection
I use the elliptical marquee tool to make my selection then press the Refine Edge button in Photoshop.
Select View Mode
In the Refine Edge dialog box I change the view mode to either View on White. This shows my selection with a white border around it.
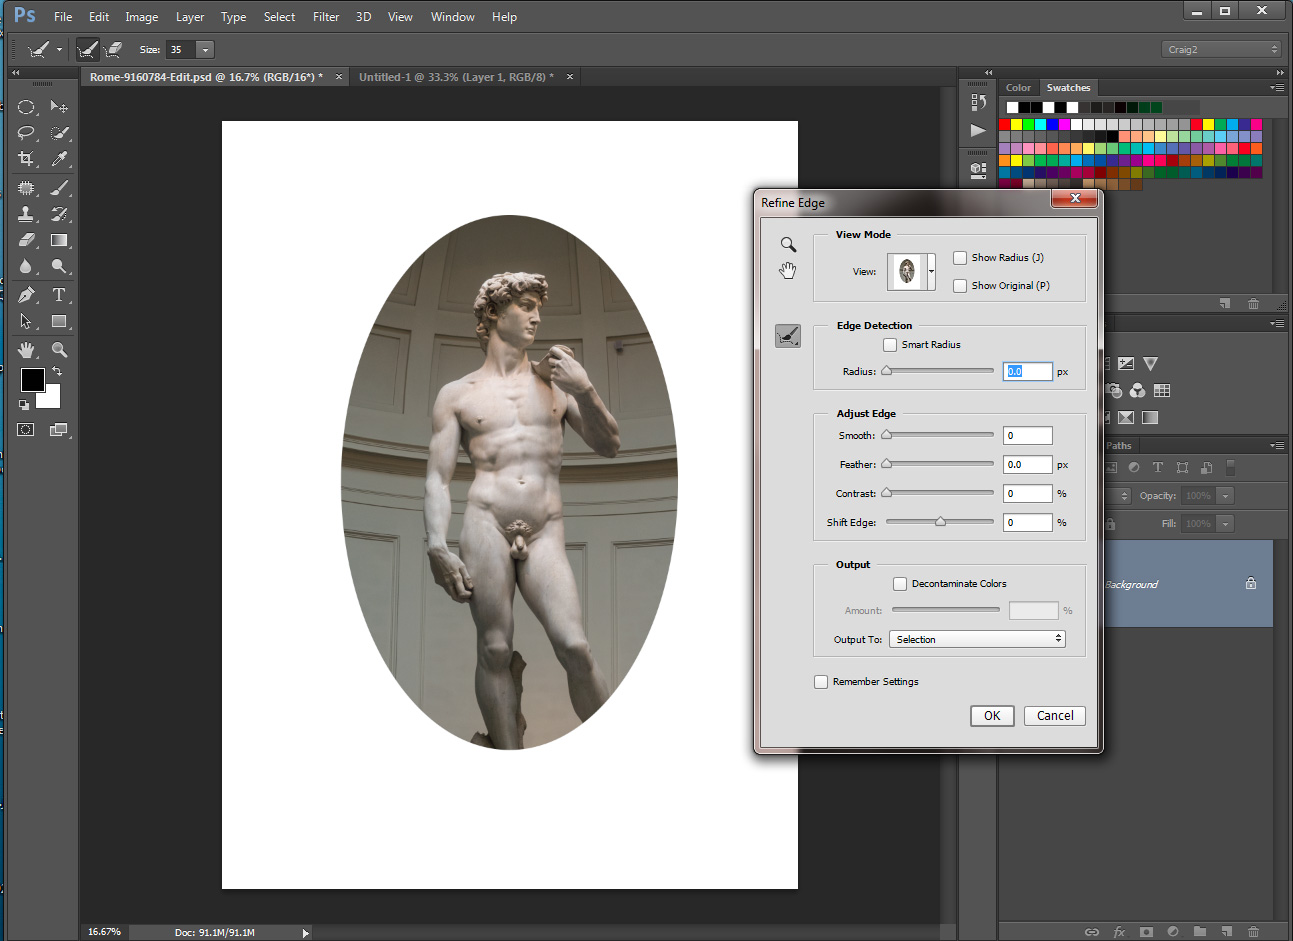
Adjust the Feathering
Using the Feathering slider I visually adjust the feathering to get a selection without a hard edge. I then output to Selection.

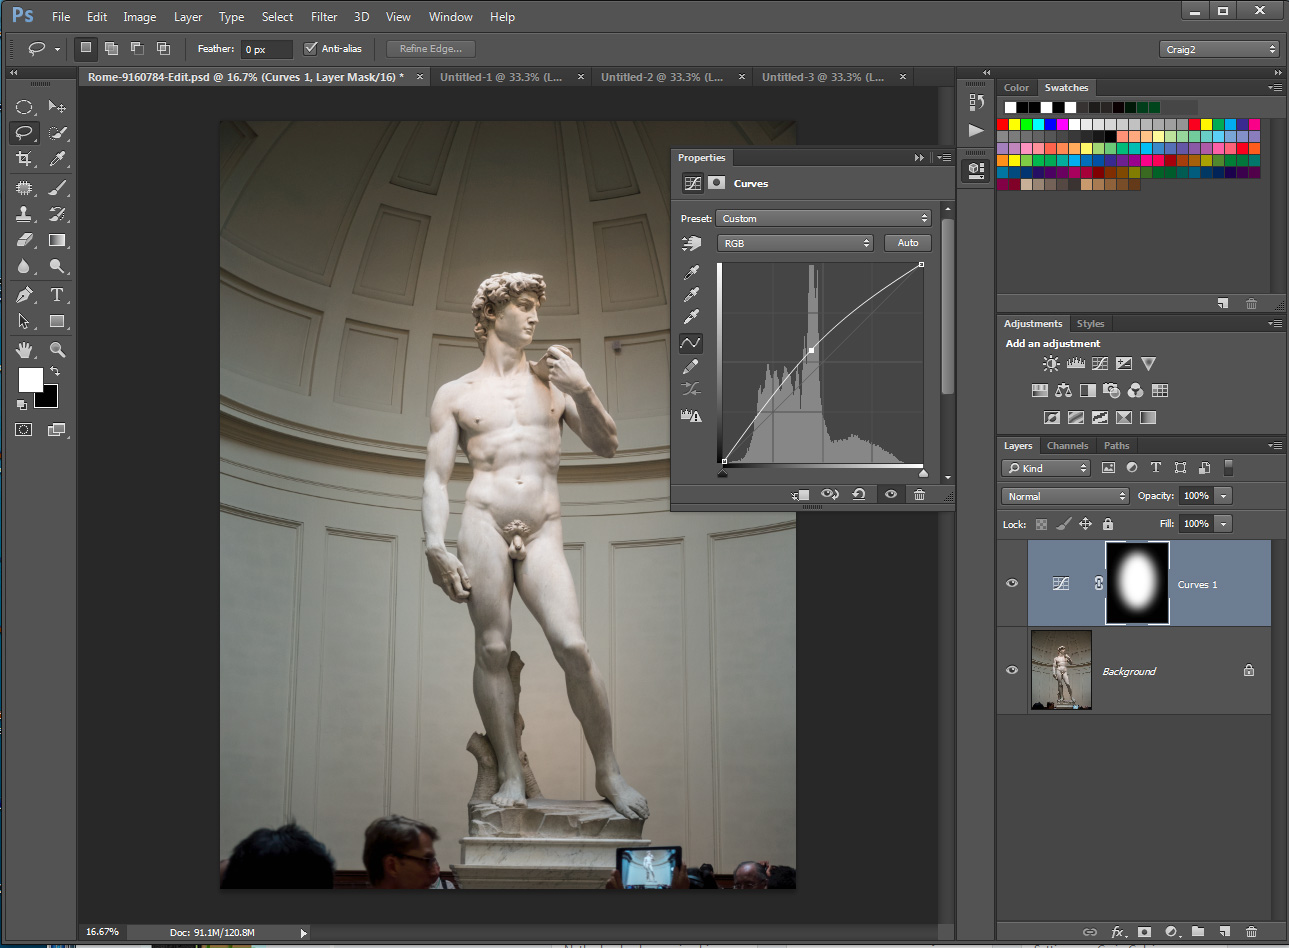
Make my Curves Adjustment
With the feathered selection active I then create a curves layer which will create a feathered mask. I can then adjust the curves layer to brighten or darken the selected area. If I were doing a vignette I would invert the selection prior to creating the curve layer and then darken the edges of the photo using the curves adjustment.
Conclusion
There you have it a quick and easy way to visually determine how much feathering to add to a selection. Let me know if you use this tip and how it works for you.
By the way for those who are going to comment that you are not allowed to take photos of David, they recently changed their policy sometime during the Summer of 2014 and photos are now allowed.