
Essential Travel Tools for the Photographer
For the past 26 days I've been travelling all over Europe taking photographs, a lot of photographs. In this post I wanted to share a couple of items that I took with me that I found indispensable.
Traveling Light
On my last trip to Europe 3 years ago I took over 45 lbs of camera and computer gear. This trip I wanted avoid that weight so I went with the bare minimum.
Micro 4/3rds Camera
Instead of my heavy Canon 5DmkIII I decided to take the Olympus OMD EM-1 with 4 lenses,
This gave me an effective range to 14mm-600mm which should cover every situation I was like to encounter. Normally I would not take the 75-300mm lens, but 1 week of the trip was a Mediterain Cruise and I wanted some reach from the cruise ship. In hindsight that was the right decision.
iPad instead of Laptop
This was a harder decision. I needed mail/internet access, the ability to edit photos, and a way to backup photos. On several recent domestic trips I had taken my laptop with the plan of editing photos and then never got motivated to do so. So my thinking was I would just use the iPad for some light editing, and save all the heavy Photoshop work for when I got home. My editor of choice on the iPad is Snapseed (they also have an Android version) so I was covered for the editing. Now my only issue was backing up my photos.
Backup Strategy
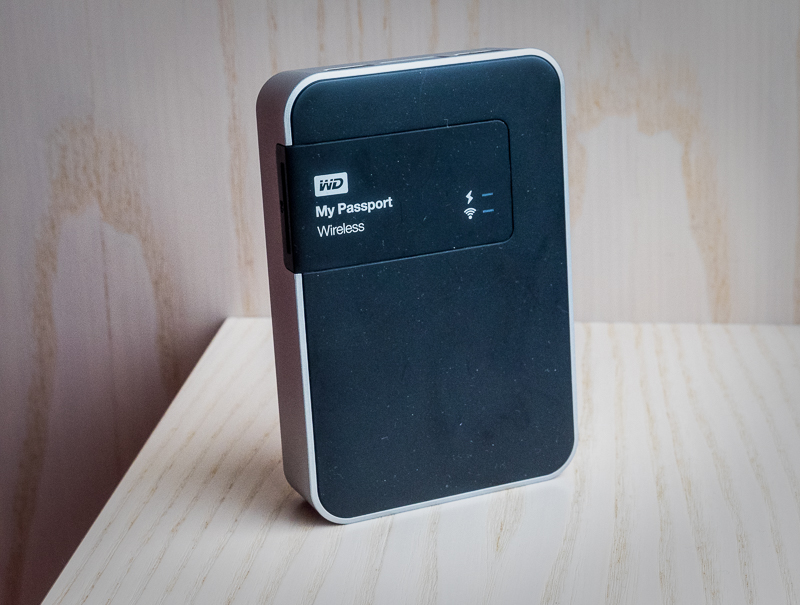
I purchased a few extra SD cards so I would not have to reuse cards while on my trip. But I still needed to make a backup of them each evening. I did some research and decided on the Western Digital My Passport Wireless. This is a great little drive. It has a built-in battery, wifi, and most importantly a SD slot.
Each night I would put the SD card in the WD drive, push a button and it would copy the contents of the SD card to the drive. It has the option for to erase the card or leave the photos on the card, it is smart enough to not copy photos that it has already backed up. A great solution.
In addition using the wireless capabilities I was able to use my iPad to browse the photos and download the ones I wanted to edit and post on all of my social media sites.
Charging
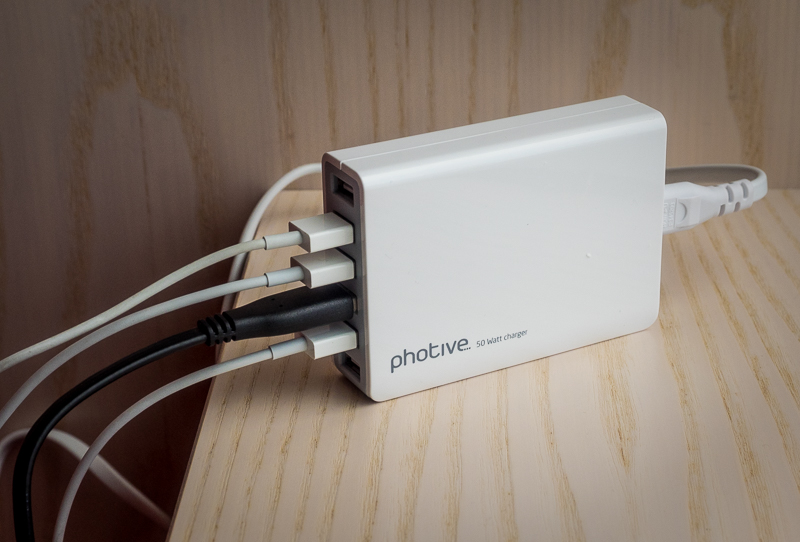
Part of life these days are all of my electronic devices that I travel with that need to be charged, my iPhone, iPad, Apple Watch, the WD My Passport, etc. One of the challenges is finding enough plugs in a hotel room to charge all of my (and my family's) devices. When travelling domestically I put a power strip in my suitcase so I only need to find one vacant plug in the room and can charge 6 devices, but that power strip won't work in Europe at 220V, so I needed to find another solution. I ended up with a Photive 50W USB Charger. This device is AWESOME, it has six USB ports and allowed me to charge all of my devices from a single outlet. It works at both 110V and 220V and has now replaced the power strip in my suitcase.
Conclusion
Overall this all worked great. I did have one small issue, I lost my iPad halfway through the trip but was able to borrow my wife's some nights to do some quick editing. I loved how light my camera bag was and carried it with me a lot more than I might have if I had my DSLR.
The only downside was not having my laptop to sort/keyword/edit photos each night. The result was I got home with over 6000 images and it took me a couple of days just to organize and keyword them all. Would have been easier to do a little bit at time each night instead of all at the end of the trip.
Next time I travel I plan to use the same basic strategy as outlined above, it worked very well.
What do you take on your travels that you find indispensable?
Improve Your Travel Photography With Self Assignments
I have been travelling a lot this past month and while I tend towards photographing people in the studio I also take my camera with me whenever I travel. I use these trip as a way to expand my photography horizons., whether it is improving my landscape photography skills, practicing street photography or just documenting my trip by taking my own "postcard" shots. I view every trip as a learning opportunity.
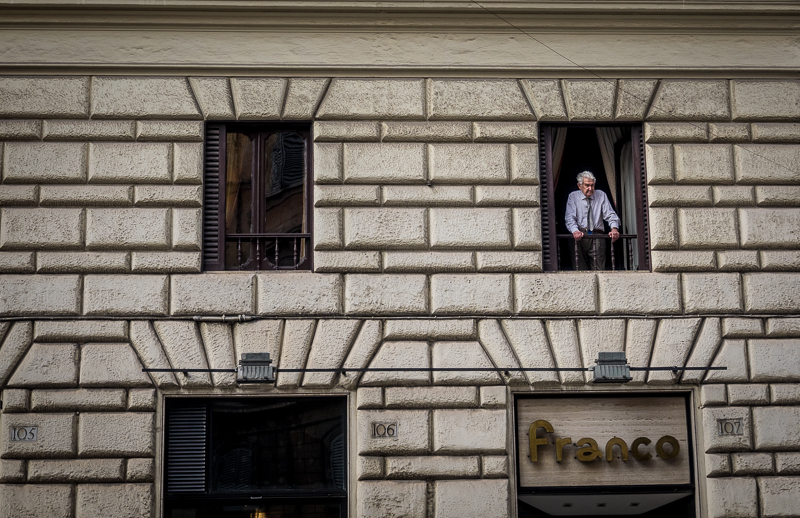
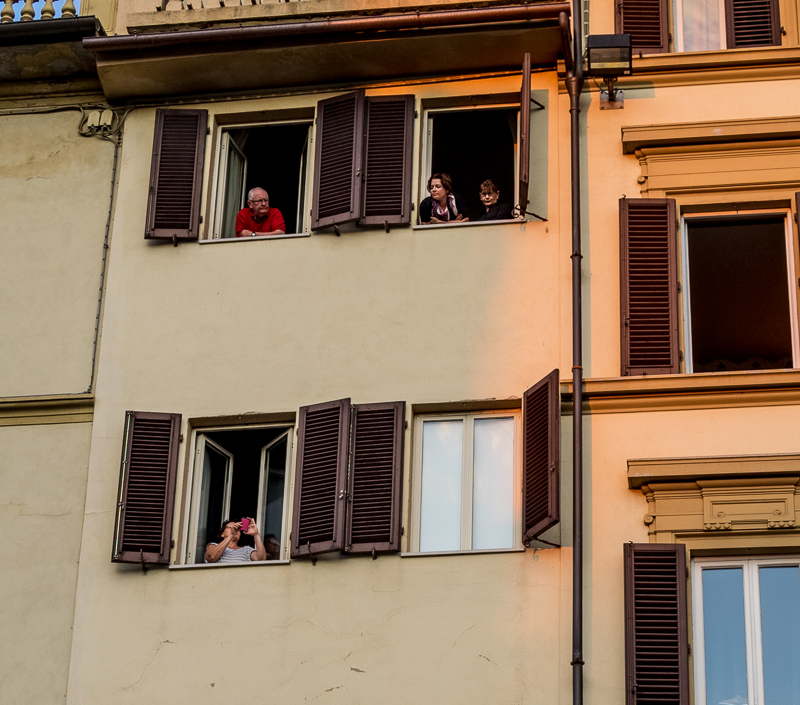
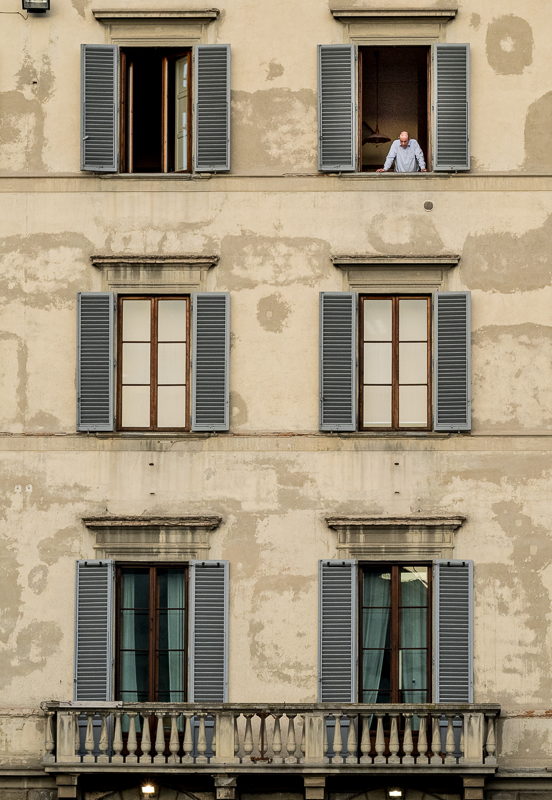
People in Windows

Patterns and Shadows


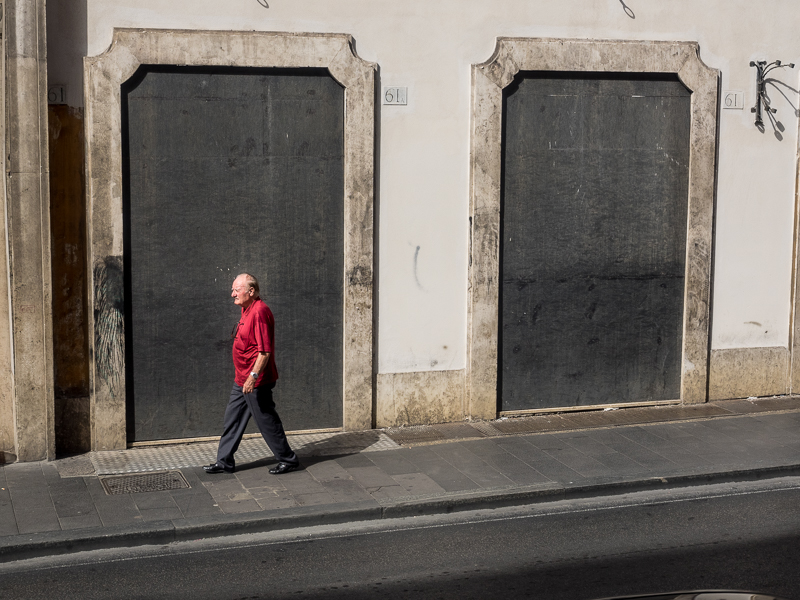
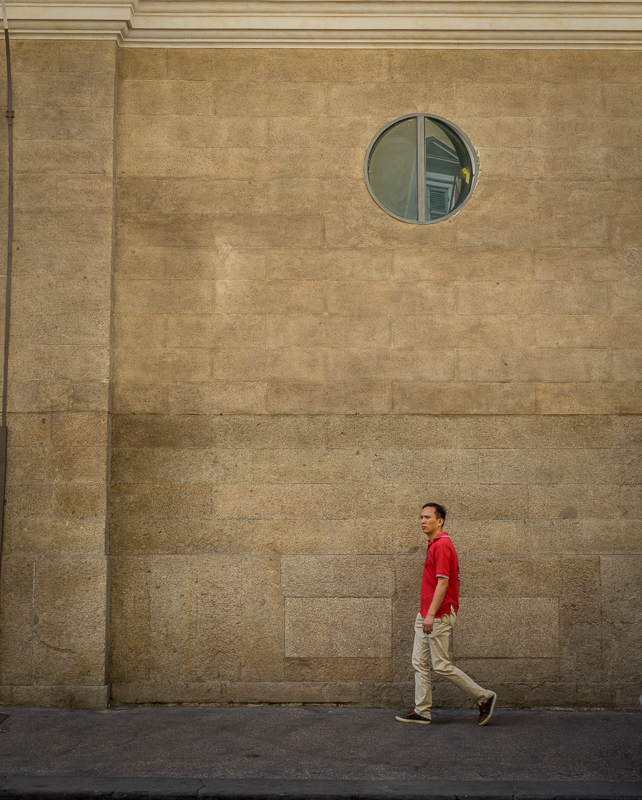
People Walking in Front of Interesting an Background


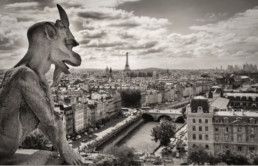
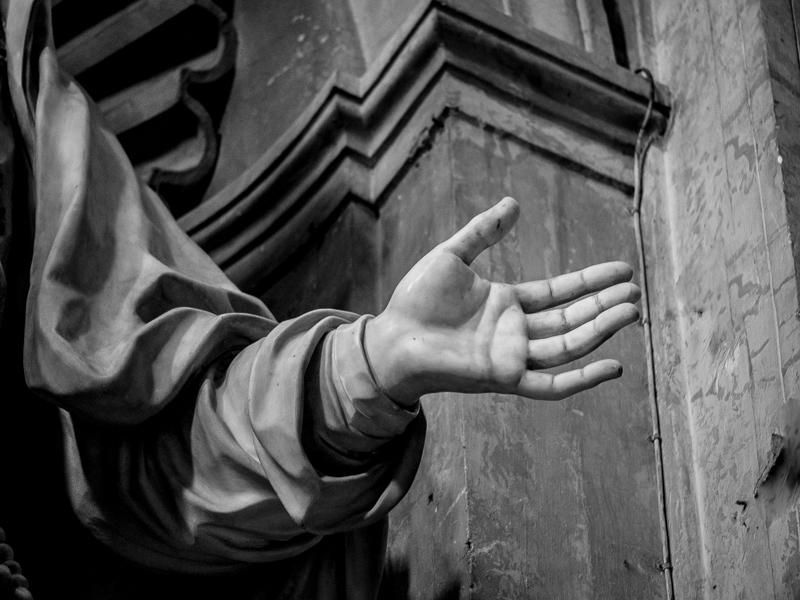
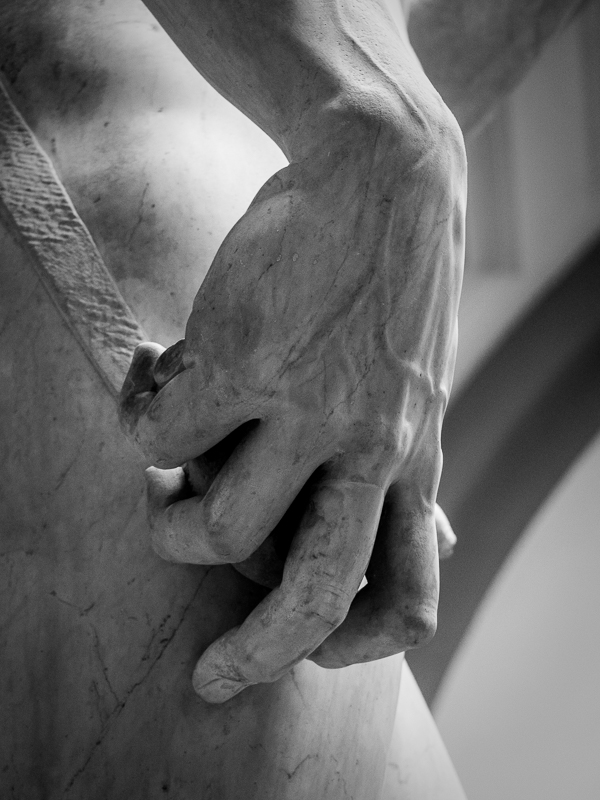
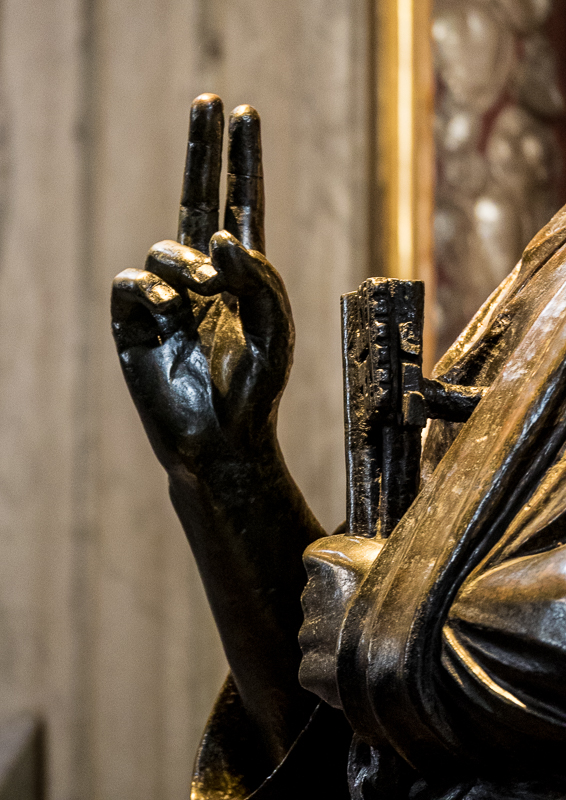
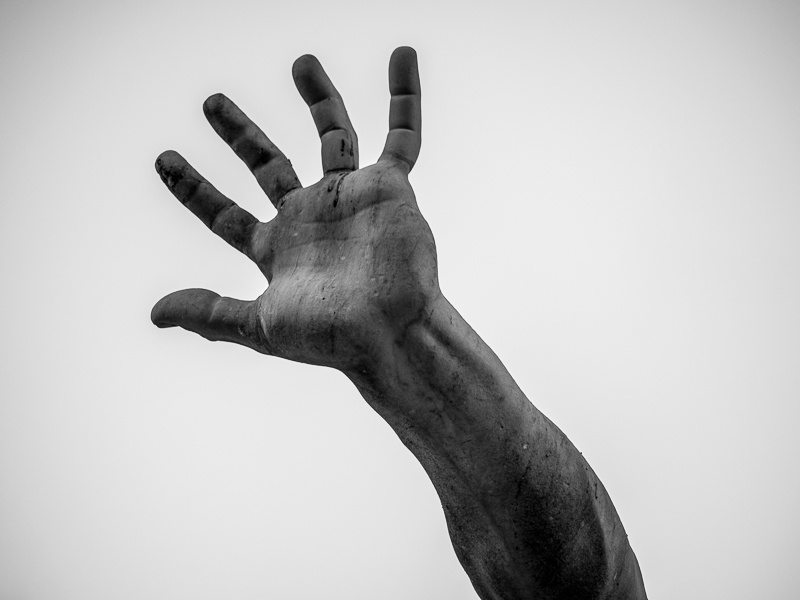
Close-ups of Statues
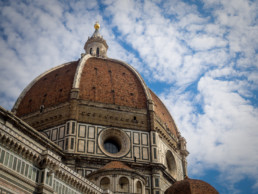
Domes and Ceilings


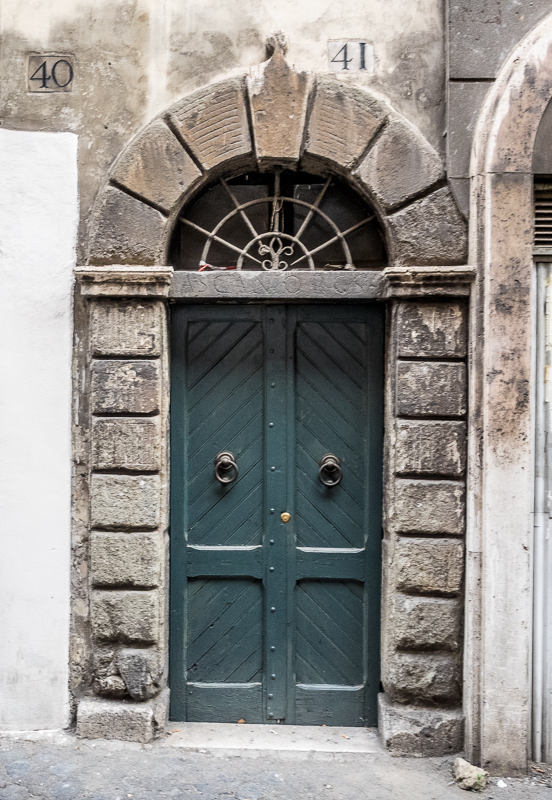
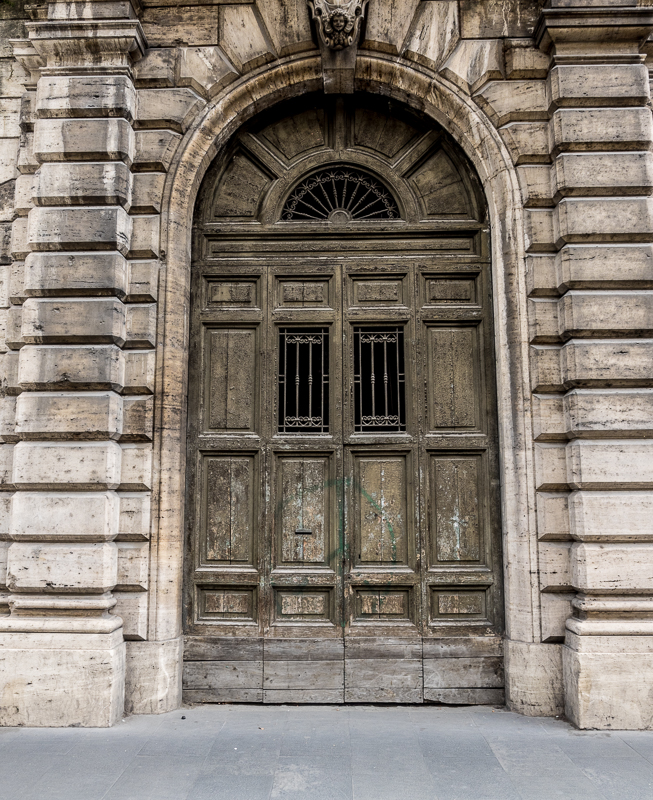
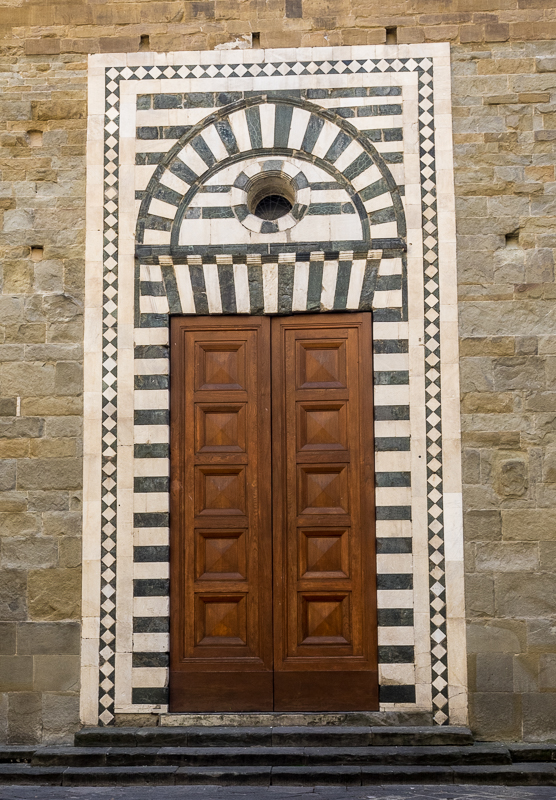
Doors

Conclusion
Take a Photo Trip!
Want a sure fire way to take better landscape photographs? Plan a photo trip. Every photo trip I have ever done has resulted in some of my top photos of the year.
Why a Photo Trip?
The reason I get such great photos on photo trips is focus, and I don't mean camera focus, mental focus. Because I am there to take photographs and nothing else I immerse myself into the task. I get up before sunrise and finish up after sunset; I take my time at the location trying different compositions and angles; I experiment with long exposures, panoramas, and HDR. I plan!
Planning
This is probably one of the more important aspects of a photo trip. Before the trip I will map out my destinations, look at tide tables, and sunrise/sunset times. But even when my plans go awry I still get good shots, because I have time, I have a purpose, and I have a single task. Take photos.
Dedicated Time
This is why photo trips are so successful. You have time to take photos, you aren't rushed. When I am travelling with my family they are somewhat tolerate of me taking photos, but they expect me to get a shot in a few minutes whether the lighting is right, or the tide is wrong. When I am by myself or with other photographers there is no problem setting up and spending an hour at a location waiting for just the right conditions and getting the best shot I possibly can.
It Doesn't Have to Be Far
A photo trip doesn't mean that you have to pack your bags and book a flight. It can be somewhere local, somewhere you can drive to in a day. It's not the destination that is important it is dedicating the day to photography that is going to allow you to take better photos.
Look for Opportunities
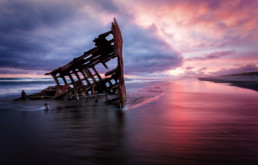
Do you need to travel for work? Perhaps add a day or two onto the end of the trip and go photograph the local sights. I recently did this on a trip to Portland. I was there with friends the beginning part of the week, after dropping them off at the airport I headed West and spent several days photographing the Oregon coast (where I took the photo of the Wreck Peter Iresdale at the top of this post).
I did the same thing when I went to the Palm Springs Photo Festival in April, after the festival I spent a day at Joshua Tree and then an additional day at the Salton Sea finishing off a project there. Airfare was already paid, the car rental actually went down because I was renting for a full week. I just needed a couple of cheap hotels for the extra night.