
Quick Photoshop Tip - Feathering Selections
I used to struggle in Photoshop guessing how much to feather a selection. A lot of it was trial and error, pick some number of pixels to feather, try it, undo, pick another number, rinse, repeat. But this is now a thing of the past, I recently realized I could use the Refine Edge tools to have a visual aid for my feathering of selections.
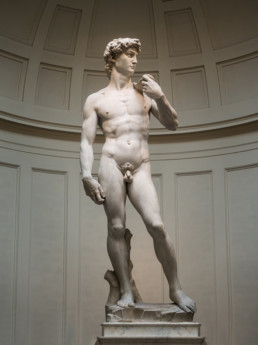
I often want to brighten an area of a photo or create a vignette as one of the final steps of editing a photograph. Here is an example where I want to brighten the statue of David using a mask and a curves layer.
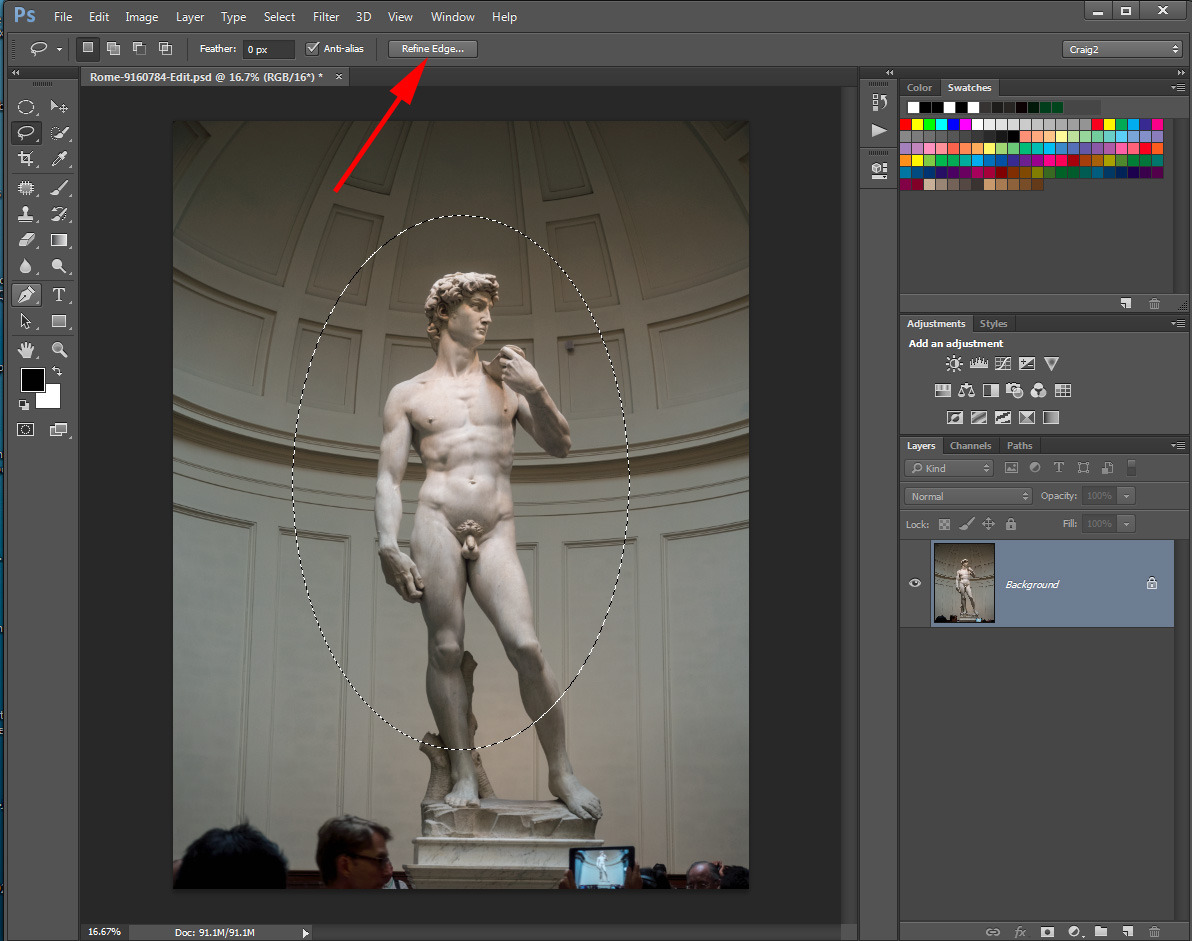
Make Selection
I use the elliptical marquee tool to make my selection then press the Refine Edge button in Photoshop.
Select View Mode
In the Refine Edge dialog box I change the view mode to either View on White. This shows my selection with a white border around it.
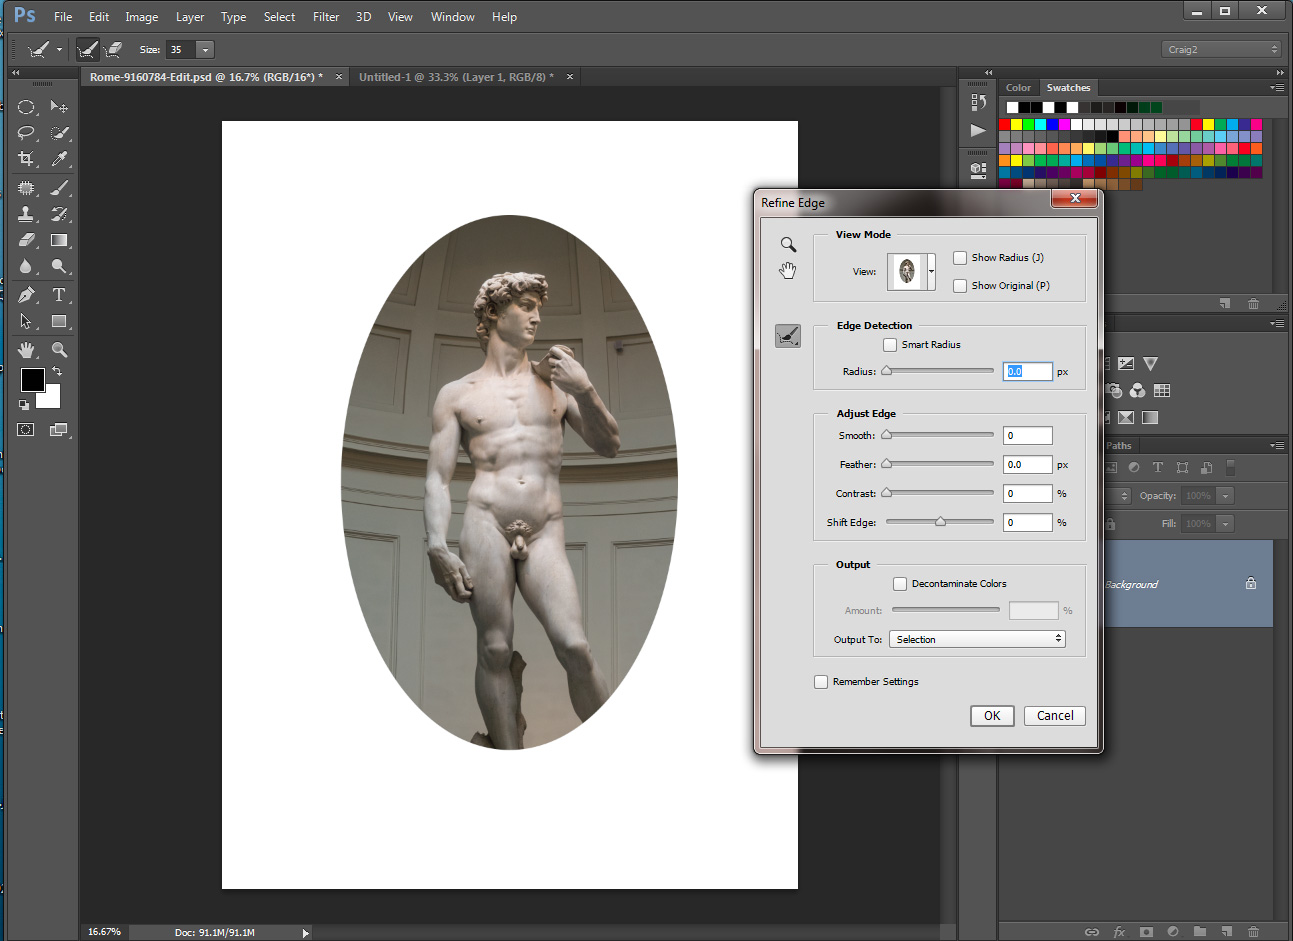
Adjust the Feathering
Using the Feathering slider I visually adjust the feathering to get a selection without a hard edge. I then output to Selection.

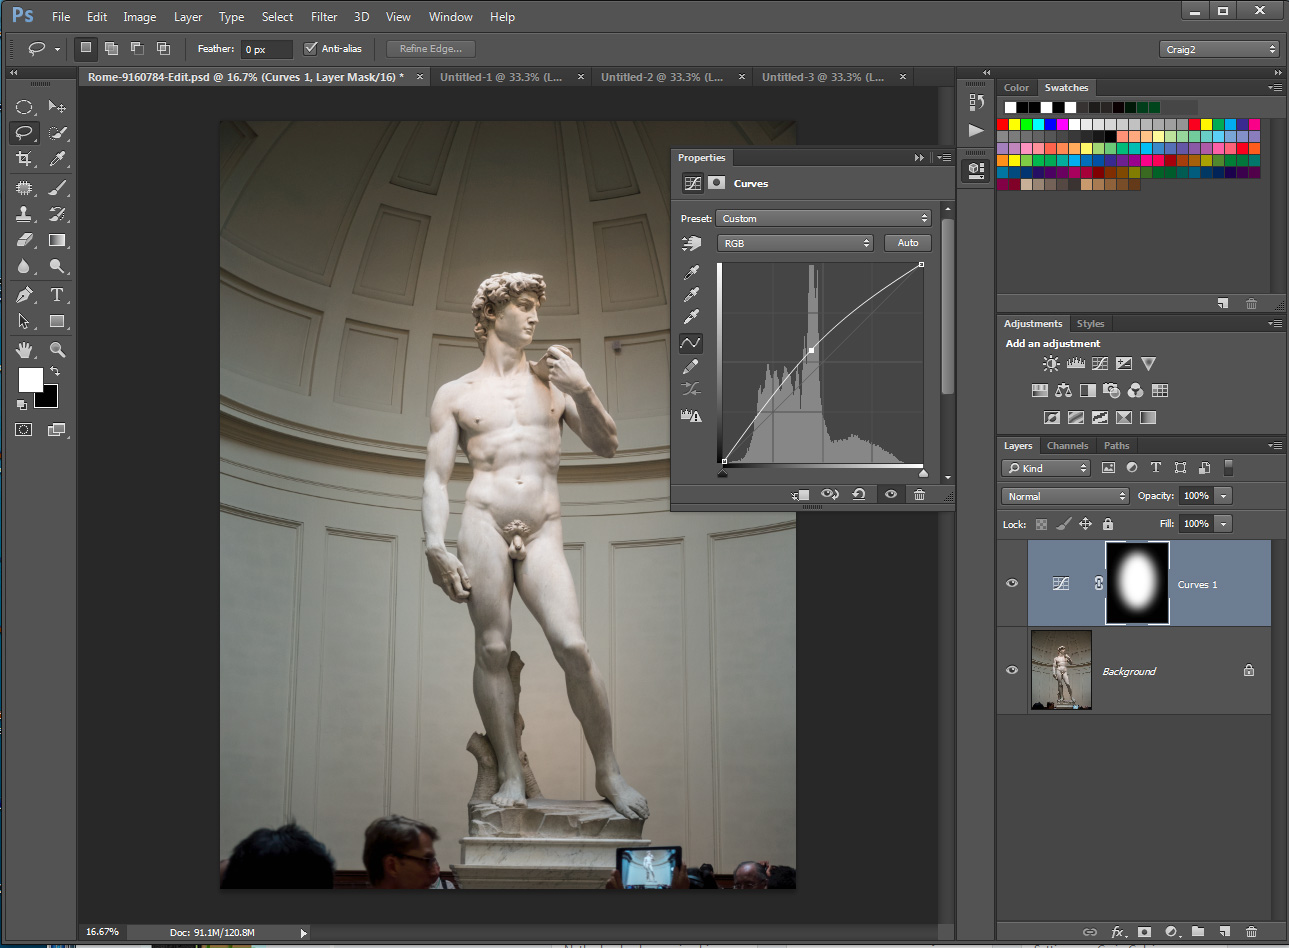
Make my Curves Adjustment
With the feathered selection active I then create a curves layer which will create a feathered mask. I can then adjust the curves layer to brighten or darken the selected area. If I were doing a vignette I would invert the selection prior to creating the curve layer and then darken the edges of the photo using the curves adjustment.
Conclusion
There you have it a quick and easy way to visually determine how much feathering to add to a selection. Let me know if you use this tip and how it works for you.
By the way for those who are going to comment that you are not allowed to take photos of David, they recently changed their policy sometime during the Summer of 2014 and photos are now allowed.
Fixing the Photoshop Undo Problem
One of the things I find most frustrating things about Photoshop is that it's default behavior for the keyboard shortcut Ctrl-Z (Undo) is unlike every other program on my computer. In Photoshop the keyboard shortcut Ctrl-Z is a toggle between Undo and Redo, for all other programs you can Undo multiple steps. So here is how I modify Photoshop to make Ctrl-Z behave the way it should.
What Should Ctrl-Z Do?
The function that I want Ctrl-Z to perform is called "Step Backward" in Photoshop terms. This command, which is available in the Edit menu, will step backwards in the History Panel, and is basically a multilevel Undo. You can step back as far as the first item in your history panel.
Why Do I Care?
I encounter the need to do multiple Undos most often when I am doing skin retouching. As I described in my video tutorial Glamour Retouching Workflow , I use the patch tool to remove most skin blemishes. It is a two step process, select the blemish and then drag to another location on the skin. If I don't get the result I wanted I often need to step back 2 steps and try again. With the default Ctrl-Z command I can't do this, so I have to resort to the unfamiliar keystroke for Step Backward, or go to the History Panel and step back manually. This really slows down my retouching workflow, so here is the fix.
The Solution
(note: This describes the process for a Windows based system. The keys can be remapped on the Mac but the tools and process are different.)
By remapping the keyboard shortcuts in Photoshop I changed the behavior of the Ctrl-Z key to be Step Backward instead of Undo.
Here are the steps to remap the keys.
(click on images to view larger)
Step 1 - From the Edit Menu Select "Keyboard Shortcuts..."
[one_half_last]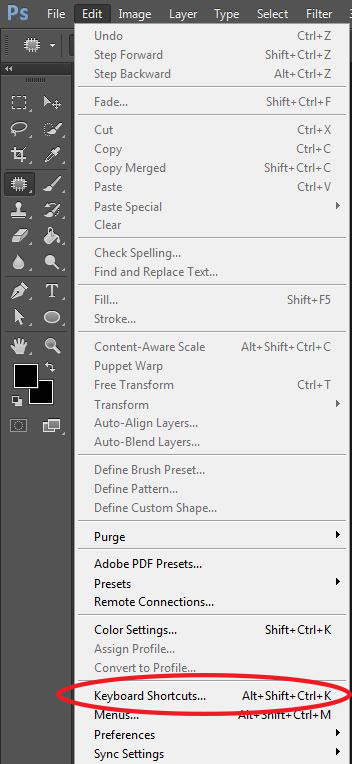
[/one_half_last]
Step 2 - Select "Edit" in the Keyboard Shortcuts Dialog
[one_half_last]
[/one_half_last]
Step 3 - Remap Step Backward Keyboard Shortcut
[one_half]
[/one_half]
[one_half_last]
- Select Step Backward and
type "Ctrl-Z' - You will see a warning saying key is already in use. Click "Accept and Go to Conflict" button.
[/one_half_last]
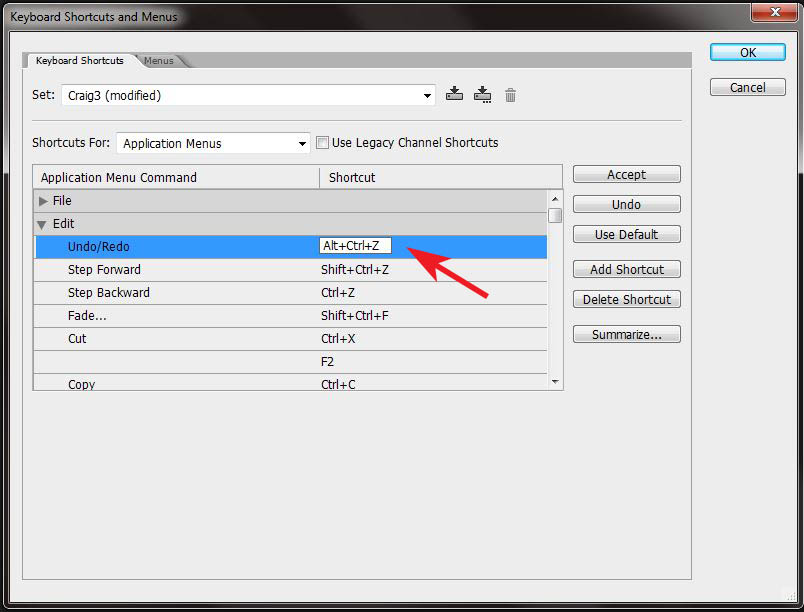
Step 4 - Remap Undo/Redo
Type "Ctrl-Alt-Z" on the Keyboard as the new keystroke for Undo/Redo.
[one_half_last]
[/one_half_last]
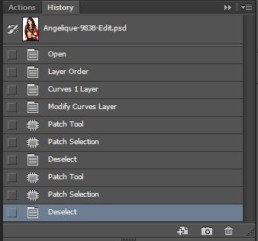
Step 5 - Test It
Open the History Panel and try it out. Pressing Ctrl-Z should now move up in the history panel.
[one_half_last]

[/one_half_last]
Conclusion
Remapping the Undo key is one of the first things I do in any new Photoshop install. Give it a try and let me know what you think. Do you any favorite keyboard remappings? I would love to hear about them. Share them in the comments below.