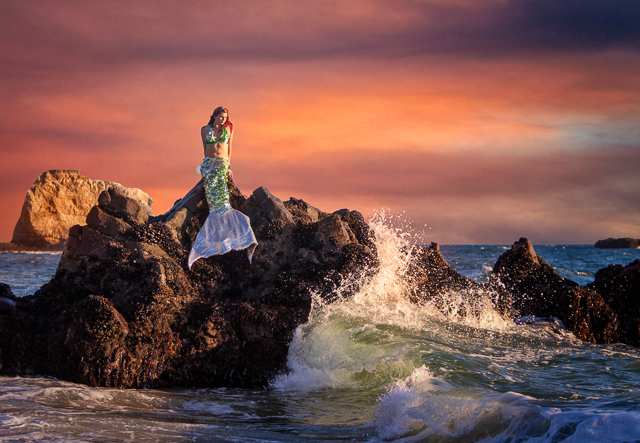
Have you ever taken a photo that you thought was going to be awesome but when you get back to the computer and see it on the bigger screen it, well basically, sucks?
This happens to me quite often, but here is what I did to recover a photo after a recent photo shoot
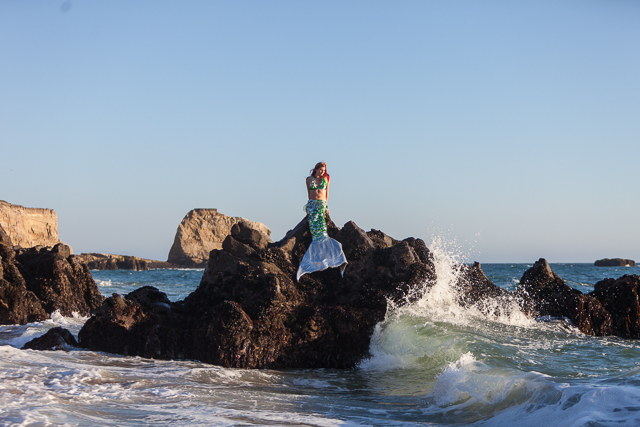
I had hired a professional mermaid/model (Atlantis Mermaid MM#2646787) for a couple of conceptual shots I had planned. While we were waiting for sunset, I noticed this large rock out in the water and thought it might make for a good shot. The model waded out to the rock, climbed up and put on her tail. To get the right angle I waded out into the surf up to my chest and started taking photos. I spent a lot of time trying to time the waves crashing on the rocks, which was a challenge because they were often hitting me at the same time, but I thought I got some decent shots.
They Were All Rejects
When I got back home I was disappointed by how blah the photos looked. The lighting was poor, the sky was plain, and the whole image looked washed out. I made my picks in Lightroom for the entire shoot and none of the mermaid on the rock shots made the cut.
Trying To Salvage the Shot
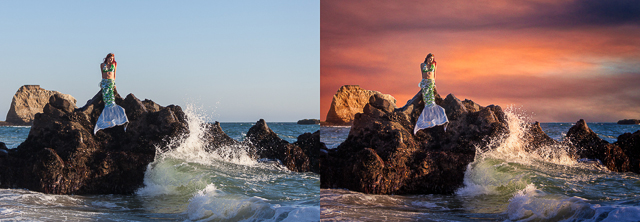
A couple of weeks later the model contacted me and said she really wanted one of the shots of her on the rock. I explained that they didn’t come out that great. She said she didn’t care, she really wanted one of the shots. I told her I would see what I could do. I went back through the photos and found this one with some good wave action.
The Sky Sucked
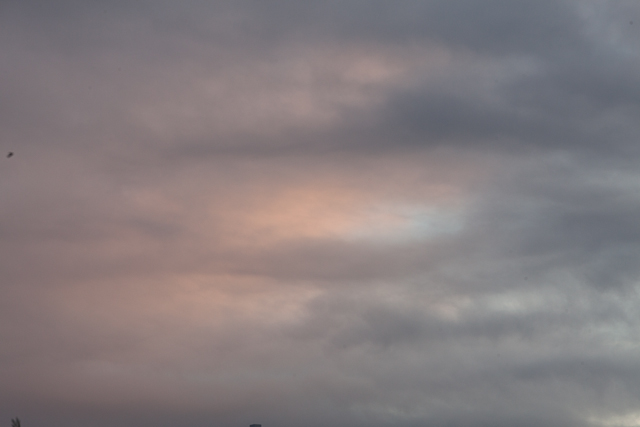
Looking at it a 2nd time I realized that what I really didn’t like about it was the plain sky, it needed some clouds. I have a huge collection of cloud photos (1400+), whenever I’m out and see interesting cloud formations I will pull out my camera and take a few shots. So I searched my library and decided on this image of clouds.
The 10 Minute Photoshop Job
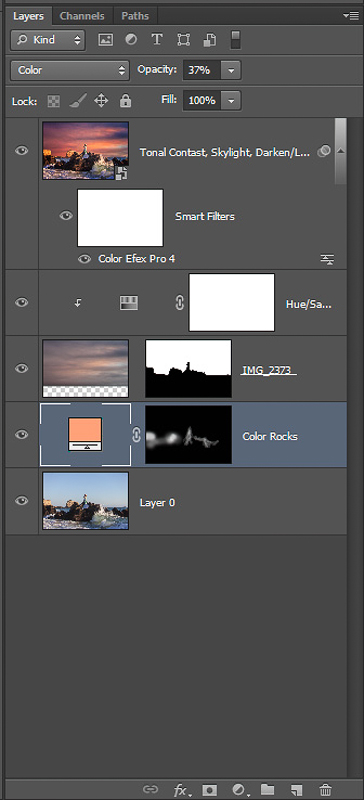
Here are the steps I did in Photoshop to merge in the clouds and fix-up the image
- Add clouds. Used Quick Selection Tool to select blue sky, added my cloud image as a layer and made a mask from the selection. A couple of minutes of cleanup on the mask around the wave and rocks.
- Change color of the rocks. Sample reddish color from the clouds, add a solid color layer with the blend mode set to “Color”, then with a soft brush set to 10% opacity I paint in the color onto the rocks in the background
- Change cloud color to be more red and increase saturation
- Use Color Effect Pro 4 filter, Tonal Contrast, Skylight filter, and Darken/Lighten Center.
- Back in Lightroom I cropped the image and I was done.
Final Result
I am quite pleased with the end result and it’s become one of my favorite images.
How About Your Images?
Do you have any images you initially thought were rejects but were able to recover them? Share them with us.

